How to build a butcher block desk with metal legs
A solid wood worktop, a pair of steel legs and one afternoon. Here is how to size it, finish it and put it together so it stays flat and steady for years.
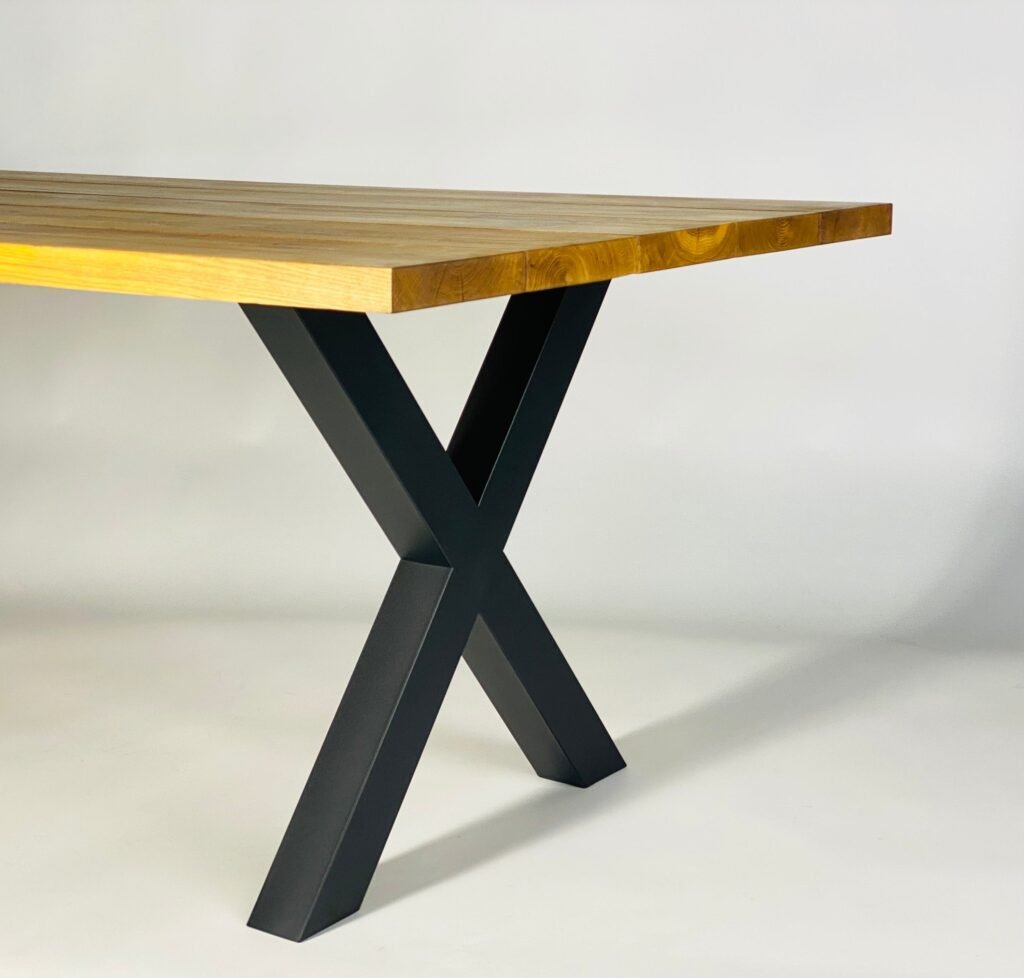
A butcher block desk is the rare DIY job where the hard part is already done: the top comes glued, flat and sanded. Your part is choosing the sizes, oiling the wood and driving a handful of screws in the right places. Here is the order that works.
What you need
Tick things off as you go. The list remembers your ticks on this device, so it still knows where you were when you come back from the shop.
1 Size the top
Most desks are 120–180 cm long and 60–80 cm deep. 60 cm holds a laptop. 70–80 cm fits a monitor at a sensible distance with the keyboard in front of it, which your neck will thank you for by Thursday.
| What sits on it | Length | Depth |
|---|---|---|
| A laptop and some papers | 100–120 cm | 60 cm |
| One monitor and a keyboard | 120–140 cm | 70–80 cm |
| Two monitors | 140–160 cm | 80 cm |
| Two people side by side | 180 cm and up | 80 cm |
Kitchen worktops come in long lengths, so a timber yard or builders’ merchant can usually cut one to size. Bring the measurements written down, not remembered.
Thickness. Worktops are commonly 27, 38 or 40 mm thick. 27 mm is fine for a short desk. Over about 150 cm, or with heavy monitors, go for 38–40 mm: it stays flat and feels solid when you lean on it.
2 Choose the wood
- Beech: hard, pale and usually the most affordable. Takes oil well and hides small dents.
- Oak: hard, with an open grain that shows through the finish. Darkens a little with oil and with age, like most of us.
- Birch: light and smooth, for a clean Scandinavian look.
- Walnut: dark and rich, and the most expensive of the four by some distance.
Full-stave tops (one long strip per row) look calmer than finger-jointed ones (short pieces glued end to end) and usually cost more. Both are strong enough for a desk; the difference is how busy you like your grain.
3 Choose the legs
Width. Pick legs 10–20 cm narrower than the depth of the top, so it overhangs 5–10 cm at the front and back:
| Depth of the top | Leg width |
|---|---|
| 60–70 cm | 50–60 cm |
| 70–80 cm | 60–70 cm |
| 80–90 cm | 70–80 cm |
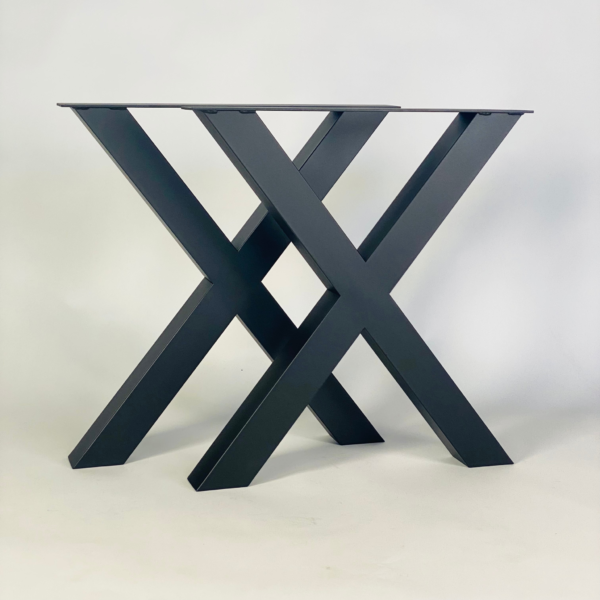
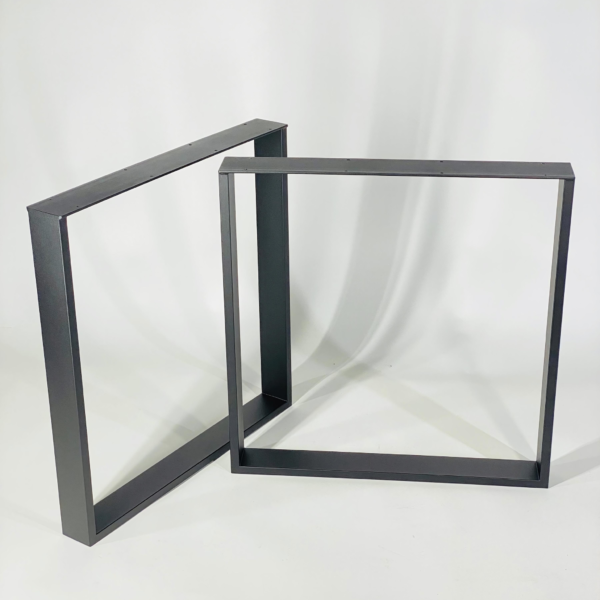
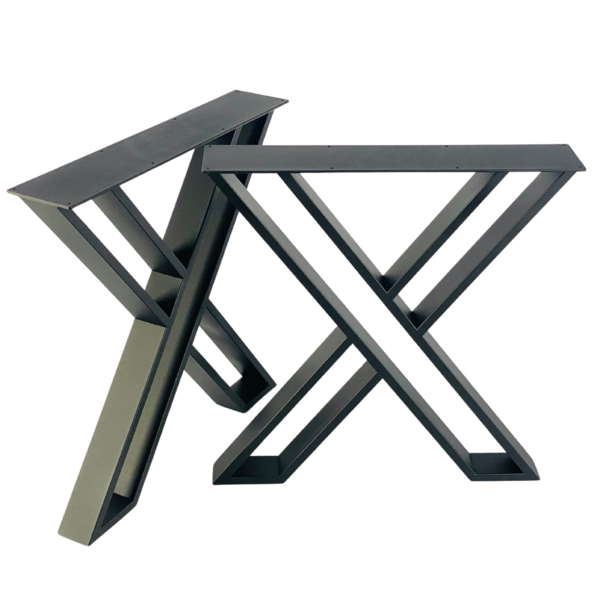
Shape. Rectangular frames such as Square look clean and quiet. X-shaped legs such as Xstyle suit longer tops and add some character. Both keep the space between the legs free for your chair and knees.
Height. Leg height is the desk height minus the top. Try your own numbers:
Work out your leg height
Leg height = table height − top thickness
- Leg height
- 70 cm
- Seat to top
- 28 cm
- Usual desk height
- 72–76 cm
Comfortable: 28 cm from seat to top, inside the 25–30 cm most people like.
Not sure which desk height suits you? Standard desk height has a two-minute way to find it.
Desk legs that suit a worktop
4 Finish the top first
Oil the wood before the legs go on. A flat top on a blanket is far easier to work on than a desk you keep walking around. Sand with 120 and then 180 grit along the grain, wipe off the dust and apply two or three thin coats of oil. Follow the drying times on the tin, not your patience.
Workshop tip. Do the underside too. A top finished on one side only takes up moisture unevenly and can cup. Wood keeps score.
5 Mark the leg positions
Lay the top face down on a blanket. Set each leg 10–20 cm in from the end and centre it front to back. Closer to the end looks clean but gives up a little stability; much further in and the ends feel unsupported when you lean on them.
Measure both legs from the same edge, so they end up square to each other. Two edges are rarely as parallel as they look.
6 Drill pilot holes and screw
Mark the holes through the mounting plate, then drill pilot holes slightly thinner than the screws. Screw the legs on firmly, but don’t overtighten: the threads hold better when they are not stripped.
Watch out. Wrap tape around the drill bit as a depth stop. The hole must stay at least 6–8 mm short of the top surface. A drill bit coming up through your new desk is a feature nobody asked for.
Solid wood moves a little across the grain as the humidity changes through the year. Screws allow for that; glue does not. Never glue legs to a solid top.
7 Stand it up and level it
Turn the desk over with a helper. It is heavier than it looks, and the corners dent easily on the way down. If the floor is uneven, levelling pads take out the wobble. Then fix a cable tray under the back edge to keep the wires off the floor and out of sight.
Monitor arms and cables
Planning a monitor arm? Most clamp to the back edge, so keep that edge clear of the leg frame and check the clamp range against the thickness of your top.
A grommet hole (a round hole with a plastic cover) lets cables drop straight through the top. Drill it before you oil the wood, at least 10 cm from the back edge.
Common mistakes
- Screws too long. A screw can be at most the plate thickness plus the top thickness, minus 6–8 mm. A tip through the top cannot be undone.
- Legs not square. Measure both from the same edge, or the desk racks slightly and never sits quite right.
- Finishing one side only. The top takes up moisture unevenly and can cup. Oil the underside too.
- Too thin for the length. A 27 mm top over 180 cm will sag in the middle. Slowly, but it will.
- Sharp edges. Round them slightly with sandpaper or a router before you oil; your forearms rest on the front edge all day.
Questions
Yes, with taller legs. A standing desk is usually 95–125 cm high, depending on your height. Fixed legs at that height are made to order: send us the height and we quote within one working day.
Up to about 180–200 cm with a 38–40 mm top. Longer than that, or with a thin top, the middle can start to sag over the years; use a thicker top or ask us about a third support.
Check it once a year. When water no longer beads on the surface, give it a light sand and a fresh thin coat.
Keep reading
- Standard desk height: how tall should a desk be?Standard desk height is 72–76 cm (28–30 in). How to find the right height for you and your chair, standing desk heights, and how tall the legs must be.4 min read
- How tall should table legs be?Table leg heights for dining tables, desks, coffee tables, consoles and bar tables, and how to work out leg height from the thickness of your top.1 min read
- Live edge table legs: how to choose legs for a slabHow to choose legs for a live edge table: frame or base, leg width for an uneven slab, height for thick slabs, and fixing legs so the wood can move.4 min read
- Table plannerEnter your tabletop length and width to see where steel table legs should sit, how wide the frame should be and which Kalve Studio models fit.Tool
Not a standard size? We weld to order.
Send us the height, width and hole pattern. We quote within one working day.